How to Use a Wood Planer for Smooth Finish Carpentry
Achieving a smooth finish on wood surfaces is crucial in carpentry, as it enhances the overall aesthetic and quality of the project. One tool that can help you achieve this is a wood planer. A wood planer is a powerful tool that shaves off thin layers of wood to create a flat and smooth surface. In this article, we will guide you on how to use a wood planer effectively for smooth finish carpentry.
Choosing the Right Wood Planer
Before we dive into the process, it is essential to choose the right wood planer for your project. There are two main types: hand planers and power planers. Hand planers are operated manually and are suitable for smaller projects or when working in tight spaces. On the other hand, power planers are electrically powered and can handle larger jobs. Consider the size of your project and your comfort level when selecting a wood planer.
Preparing the Wood Surface
Begin by preparing the wood surface that you want to plane. Ensure it is clean, free from debris, and securely clamped down to prevent any movement during the planing process. This will help you achieve a consistent and smooth finish.
Adjusting the Depth
One of the most crucial aspects of using a wood planer is setting the depth. The depth refers to how much material the planer will remove with each pass. Start by adjusting the depth to a shallow setting, and gradually increase it until you achieve the desired smoothness. Remember, removing too much material at once may result in uneven surfaces, so it’s better to take multiple light passes.
Planing with the Grain
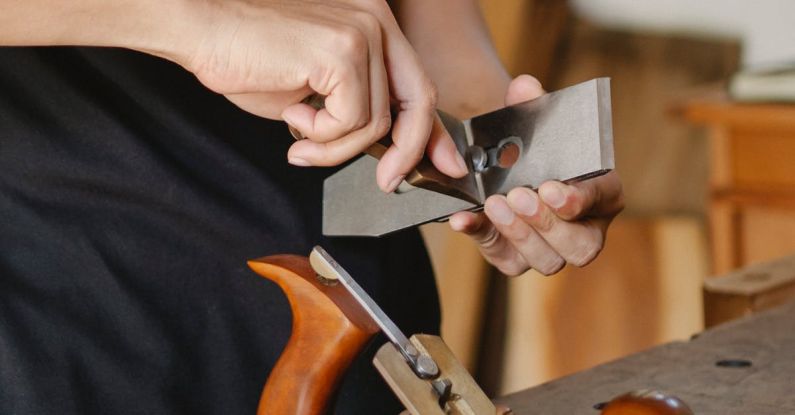
To achieve the smoothest finish, it is essential to plane with the grain of the wood. Planing against the grain can result in tear-out, where chunks of wood are torn away instead of being smoothly shaved off. By following the direction of the grain, you will minimize the risk of tear-out and achieve a cleaner finish.
Maintaining Steady Pressure
When using a wood planer, it is crucial to maintain a steady and consistent pressure throughout the process. Apply gentle pressure on the planer as you push it forward, and avoid putting too much force, as this can lead to uneven surfaces. Keep the planer moving smoothly and at a constant pace to achieve the best results.
Checking for Accuracy
Periodically check the wood surface to ensure the planer is removing material evenly. Look for any areas that may require additional planing and make adjustments as needed. It is essential to maintain a keen eye and attention to detail throughout the process to achieve a flawless finish.
Finishing Touches
After planing the wood surface, you may notice some slight imperfections or rough spots. To achieve an even smoother finish, you can use sandpaper or a hand sander to remove any remaining roughness. Start with a coarse-grit sandpaper and gradually move to finer grits until the surface is perfectly smooth.
In summary, using a wood planer can greatly contribute to achieving a smooth finish in carpentry projects. By choosing the right planer, preparing the wood surface, adjusting the depth, planing with the grain, maintaining steady pressure, and checking for accuracy, you can achieve professional-quality results. Remember to pay attention to the details and make any necessary finishing touches for a flawless finish. With practice and patience, you can become proficient in using a wood planer and elevate your carpentry projects to the next level.